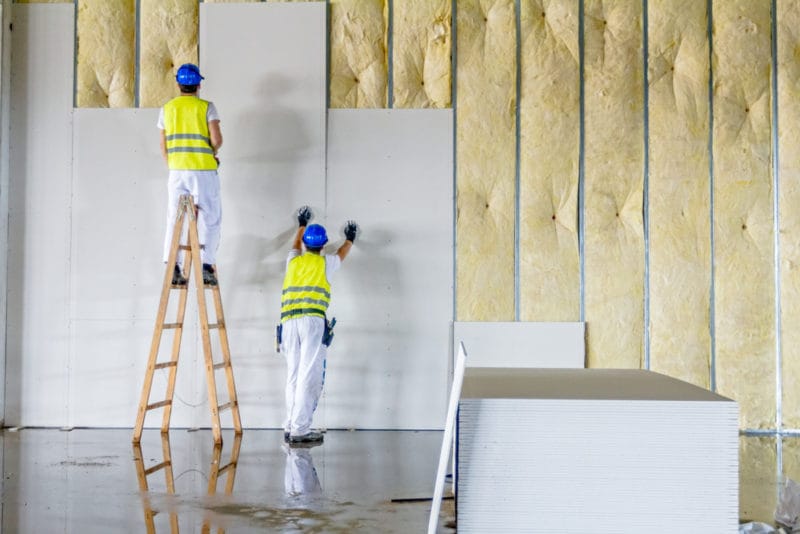
Cutting and fitting drywall sheets is a crucial skill in the world of construction and home renovation. Accurate cutting and precise fitting ensure that drywall sheets fit snugly against walls and ceilings, resulting in a smooth and professional finish. In this article, we will provide you with a comprehensive guide on how to cut and fit drywall sheets effectively, covering various techniques and best practices.
Tools and Materials:
Before you begin, gather the following tools and materials:
- Drywall sheets
- Utility knife with sharp blades
- Drywall T-Square
- Tape measure
- Pencil or marker
- Drywall saw or keyhole saw
- Rasp or drywall router (optional)
- Sandpaper or sanding block
Step 1: Measure and Mark
- Measure the dimensions of the area where you intend to install drywall sheets using a tape measure. Measure both the height and width accurately.
- Transfer these measurements to your drywall sheets, marking the dimensions with a pencil or marker. Use a Drywall T-Square to create straight cutting lines on the drywall sheets.
Step 2: Score and Snap
- For straight cuts, use a utility knife with a sharp blade to score the front side of the drywall along the marked cutting line. Apply firm and even pressure to create a shallow groove.
- Once the groove is established, carefully bend the drywall sheet along the scored line. Support both sides of the sheet to ensure a clean snap.
- After snapping the drywall, cut through the paper backing on the opposite side to complete the cut. Ensure that the cut is straight and clean.
Step 3: Cut Openings for Fixtures
- When cutting openings for electrical boxes, switches, outlets, or other fixtures, mark the dimensions of the opening on the drywall sheet.
- Use a utility knife to carefully score the outline of the opening. Be precise in your cutting to create clean edges.
- Use a drywall saw or keyhole saw to cut along the scored lines and remove the portion of drywall for the fixture.
- Check the fit of the fixture in the opening. If adjustments are needed, use a rasp or a drywall router to trim the opening to the correct size.
Step 4: Cutting Curves or Irregular Shapes
- For curved or irregular shapes, use a pencil or marker to draw the desired outline on the drywall sheet.
- Carefully cut along the marked line using a utility knife or a drywall saw. Take your time to achieve the desired shape.
- After cutting, use sandpaper or a sanding block to smooth and refine the edges of the cutout.
Step 5: Fitting Drywall Sheets
- Position the cut drywall sheet against the wall or ceiling, aligning it with the previously installed sheets or the framing members.
- Ensure that the drywall sheet fits snugly into place. If necessary, use a rasp or a drywall router to make minor adjustments to achieve a precise fit.
- Check for level and alignment, making sure that the drywall sheet is flush with adjacent sheets, walls, or ceiling surfaces.
- Secure the drywall sheet to the framing members with drywall screws, ensuring that it is securely fastened.
Step 6: Repeat for Additional Sheets
- Repeat the cutting and fitting process for additional drywall sheets, working your way across the wall or ceiling.
- Stagger the seams between sheets to create a more stable and visually appealing layout.
- Ensure that the edges of the drywall sheets are closely aligned and that there are no large gaps between them.
Conclusion
Cutting and fitting drywall sheets require precision and attention to detail. By following the steps outlined in this comprehensive guide and using the appropriate tools, you can achieve accurate cuts and snug fits for your drywall installation project. Properly cut and fitted drywall sheets are essential for creating a smooth and professional finish in construction or renovation projects.
